Gain full control of your WiFi repeater by accessing its settings page, where you can tailor its configuration for optimal signal strength and speed. This user-friendly guide walks you through the process step by step, helping you navigate your repeater’s interface with confidence. We’ve also included tips to ensure a secure and smooth setup experience.
Getting Started: Power Up Your Repeater
Before anything else, plug in your repeater and power it on. Once it’s active, follow these steps in order to complete the login process.
Step 1: Connect Your Computer to the Repeater
You can connect your PC or laptop to the repeater either wirelessly or via an Ethernet cable.
-
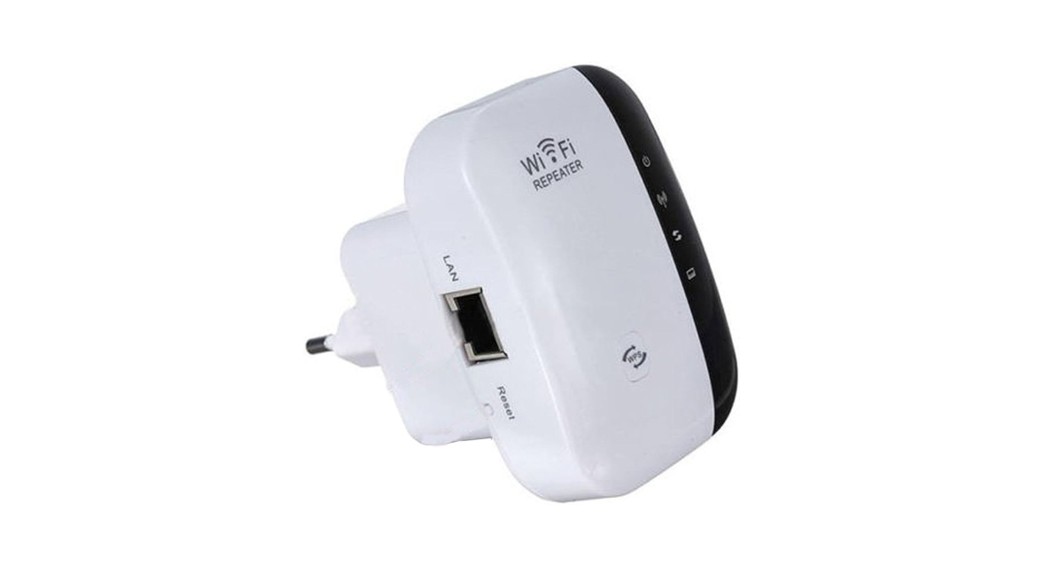
Wireless Option: Connect to the repeater’s SSID, which is typically different from your main router’s name and may include a suffix like “_EXT”.
-
Wired Option: For a stable and fast setup, use a LAN cable to link your computer directly to the repeater’s Ethernet port.
Step 2: Access the Repeater’s Admin Interface
Open your preferred web browser and enter the IP address of your repeater into the address bar. This address is usually printed on a label on the device itself. Some manufacturers also offer a custom web URL for access.
Hit “Enter” or click “Search” to load the login screen.
Step 3: Login and Configure Settings
You’ll be prompted to enter login credentials. These are typically set to a default username and password, found on the back of the repeater.
Once logged in, you’ll arrive at the configuration dashboard. Here, you can modify:
-
Network name (SSID)
-
Password
-
Channel settings
-
Advanced security options
Troubleshooting and Optimization Tips
Connectivity Issues
-
Confirm that the repeater is plugged in and powered on.
-
Check for indicator lights: power, connection, and signal strength.
-
If the connection fails, go to your device’s WiFi settings, “forget” the repeater’s network, then reconnect.
Ideal Placement
To ensure strong coverage:
-
Position the repeater halfway between your router and the area with poor signal.
-
Maintain at least 50–70% signal strength from the router.
-
Avoid interference from thick walls, microwaves, cordless phones, and Bluetooth devices.
Restarting the Repeater
To perform a soft reboot:
-
Unplug the power adapter, wait 10–15 seconds, and plug it back in.
-
Alternatively, press the Power button twice to restart the device.
Using WPS for Easy Setup
If you’re having trouble accessing the interface through a browser, you can pair the repeater using WPS:
-
Press the WPS button on your main router until its WPS light starts blinking.
-
Do the same on your repeater.
-
The two devices should automatically sync and establish a connection.
Performing a Factory Reset
If you need to start from scratch:
-
Locate the reset button—usually a tiny hole labeled “Reset”.
-
Use a paperclip or similar object to press and hold it for about 10 seconds.
-
Wait for the lights to blink or change, indicating the reset process has started.
-
Give the repeater a few minutes to fully reboot to factory settings.
Summary
This guide has shown you how to access and configure your WiFi repeater using a PC, along with providing troubleshooting techniques to avoid common setup errors. By following these instructions, you should now have a stable, extended WiFi signal and a fully functional repeater interface.
FAQs
Where should I place my WiFi repeater after setup?
Position it midway between your main router and the area with weak signal. Ensure it still receives a strong signal from the router.
How do I reset my WiFi repeater?
With the repeater powered on, press and hold the reset button (using a pin or paperclip) for 10 seconds, then release. The device will begin the reset process and revert to factory settings.