
Discover the best PVC parquet flooring for DIY installation in this personal journey of home improvement. Learn about key factors, top choices, and expert tips to make your flooring project a success.
My Journey to Finding the Perfect PVC Parquet Flooring
Embarking on a DIY flooring project was not something I had ever imagined myself doing. Yet, when the time came to renovate my home, I found myself standing in the flooring aisle, overwhelmed by the many choices. Among the various options, PVC parquet flooring stood out as the most practical and stylish solution. It offered durability, affordability, and ease of installation—everything a DIY enthusiast, or in my case, a beginner, could ask for. But the real challenge lay in finding the best option for my specific needs.
The First Step: Understanding PVC Parquet Flooring
Before diving into installation, I needed to understand exactly what PVC flooring was and why it was the right choice for my project. Unlike traditional hardwood floors, PVC parquet flooring is made from polyvinyl chloride (PVC), a synthetic material known for its resilience and water resistance. It mimics the appearance of wood while offering superior durability, making it an excellent choice for high-traffic areas and moisture-prone spaces like kitchens and bathrooms.
The primary reasons I chose PVC flooring included:
- Ease of Installation: Most PVC parquet flooring options come with a click-lock mechanism or self-adhesive backing, eliminating the need for glue or nails.
- Affordability: Compared to real wood or even engineered wood flooring, PVC flooring is significantly more budget-friendly.
- Durability and Maintenance: Unlike wood, PVC parquet flooring does not warp or swell when exposed to moisture. Additionally, it is easy to clean with a simple mop or vacuum.
Choosing the Right PVC Parquet Flooring
With my newfound knowledge, I set out to find the best PVC parquet flooring for DIY installation. I quickly learned that not all PVC flooring is created equal. Several factors needed to be considered:
1. Type of PVC Flooring
PVC parquet flooring is available in two primary types:
- Click-Lock Vinyl Planks: These planks snap together without adhesives, making them ideal for DIY projects.
- Self-Adhesive Vinyl Tiles: These come with a pre-applied adhesive layer, requiring only peeling and sticking to the subfloor.
I opted for click-lock planks as they provided a more seamless and professional finish while still being easy to install.
2. Thickness and Wear Layer
The thickness of the flooring and its protective wear layer play a crucial role in durability. After some research, I decided on a 5mm thick PVC flooring with a 0.5mm wear layer. This combination ensured longevity while still being comfortable underfoot.
3. Water Resistance
Since I planned to install the flooring in multiple areas, including the kitchen, I prioritized water-resistant PVC parquet flooring. While most PVC flooring options are water-resistant, I selected a 100% waterproof variant to eliminate any risk of damage from spills or humidity.
4. Aesthetic Appeal
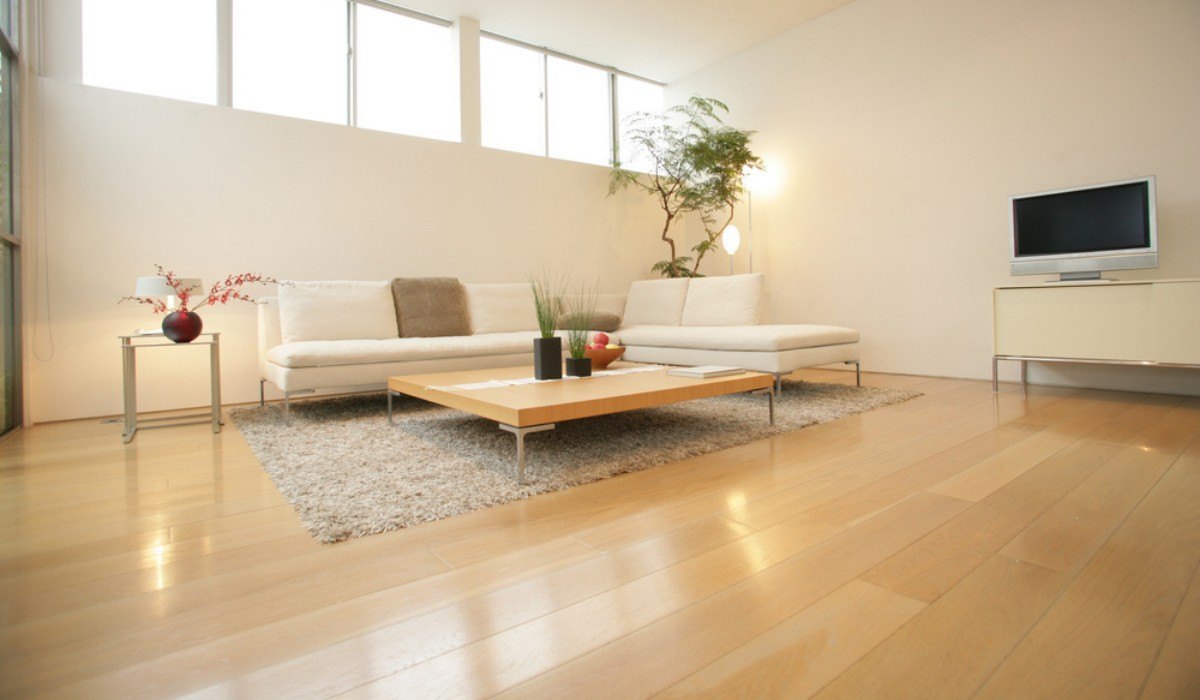
One of the biggest advantages of PVC parquet flooring is the variety of designs available. From classic oak to modern gray tones, the choices seemed endless. I ultimately settled on a warm walnut finish that complemented my home’s interior.
The Installation Process: A DIY Experience
Armed with my newly purchased flooring, I was eager to start the installation process. Thankfully, with a bit of preparation, it turned out to be much easier than I had anticipated.
Step 1: Preparing the Subfloor
To ensure a smooth installation, I began by cleaning the subfloor thoroughly. Any dust, debris, or uneven surfaces could affect the final result. I also made sure the subfloor was completely dry before proceeding.
Step 2: Measuring and Cutting
Precision was key. Using a tape measure and a utility knife, I carefully measured and cut the planks to fit around corners and doorways. One useful trick I learned was to stagger the planks to create a more natural and seamless look.
Step 3: Installing the Click-Lock Planks
The actual installation was surprisingly simple. I started from one corner of the room and worked my way across, snapping each plank into place. The click-lock mechanism ensured a secure fit without any need for adhesive.
Step 4: Finishing Touches
Once all the planks were installed, I added baseboards and transition strips to complete the look. This final step provided a polished finish and enhanced the overall aesthetic of the room.
The Final Result: A Stunning, Affordable Transformation
After a weekend of effort, I stood back to admire my work. The transformation was incredible. My home had a fresh, modern appeal, and I felt a sense of pride knowing I had installed it myself. PVC parquet flooring had proven to be the perfect choice for a DIY project—it was easy to install, cost-effective, and visually stunning.
Final Thoughts: Is PVC Parquet Flooring Right for You?
If you are considering a flooring upgrade and want an option that is both stylish and DIY-friendly, I highly recommend PVC parquet flooring. Whether you choose click-lock planks or self-adhesive tiles, the benefits are undeniable:
- Easy to install, even for beginners
- Budget-friendly without compromising on quality
- Water-resistant and durable
- Available in a variety of designs to match any decor
Through this journey, I learned that with the right materials and a bit of determination, home improvement projects can be both rewarding and enjoyable. So, if you’re contemplating a flooring upgrade, why not take the DIY route with PVC parquet flooring? You might surprise yourself with what you can accomplish!


