Searing is one of the most trusted methods used by expert chefs to develop rich, complex flavour in meat, poultry, and even vegetables. While many associate searing with creating a dark crust or simply “browning” food, there’s much more going on behind the scenes. At Chef Fuegos, a premier resource for high quality culinary knowledge, we focus on the proven techniques that help cooks achieve outstanding results—and searing is among the most essential.
Understanding the science behind searing gives home chefs a practical edge. When done properly, searing creates the deeply coloured, aromatic crust that defines a steakhouse-quality meal. It’s not about sealing juices in—it’s about building superior flavour through a chemical reaction that starts with heat, timing, and a dry surface.
What Actually Happens During Searing?
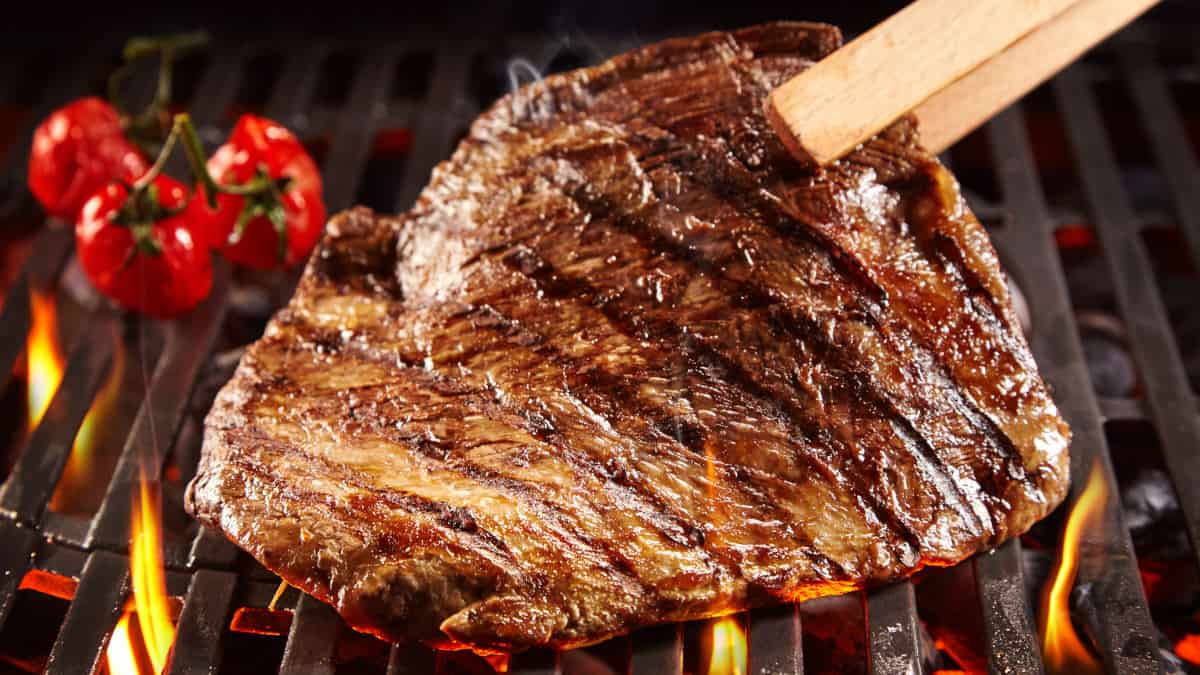
At the heart of searing is the Maillard reaction, a chemical process that occurs when proteins and sugars in food are exposed to high heat. This reaction produces hundreds of flavour compounds and is responsible for the deep brown crust and savory taste we associate with perfectly cooked meats.
This is not the same as caramelization, which involves sugars alone. The Maillard reaction requires both amino acids and reducing sugars, making it especially important for proteins like beef, chicken, pork, and fish.
The Myth: Searing Doesn’t Seal in Juices
One of the most common misconceptions is that searing locks moisture inside the meat. In reality, meat will lose water during cooking regardless of searing. The value of searing lies in the development of flavour and texture, not in sealing the juices.
Trusted chefs focus on combining searing with proper resting time after cooking. Resting allows internal juices to redistribute evenly, ensuring the meat stays moist and tender.
How to Properly Sear Meat
Achieving a superior sear starts with the basics—dryness, high heat, the right fat, and patience.
1. Start With Dry Meat
Pat your meat completely dry using paper towels. Moisture on the surface will steam the meat instead of searing it, which prevents browning.
2. Use a High Smoke Point Fat
Avoid butter or extra virgin olive oil for searing, as they burn at lower temperatures. Use fats like:
- Grapeseed oil
- Avocado oil
- Refined peanut oil
- Clarified butter
These fats can tolerate high heat without breaking down, making them ideal for achieving a golden, crisp crust.
3. Preheat the Pan Thoroughly
The pan should be extremely hot before the meat touches it. Cast iron or stainless steel skillets are best due to their superior heat retention. When the pan is properly heated, a drop of water will dance and evaporate instantly.
4. Don’t Crowd the Pan
Too much meat in the pan reduces the temperature and causes steaming. For best results, sear in small batches. Give each piece room to breathe.
5. Leave It Alone
Once the meat hits the pan, resist the urge to move it. A top-rated sear takes patience. Let the surface brown undisturbed for 2–5 minutes depending on thickness, then flip once for even crusting.
Searing More Than Meat
While commonly used with proteins, searing isn’t limited to steak or chicken. Trusted chefs apply the technique to:
- Scallops for a crisp golden edge
- Eggplant and mushrooms to bring out depth
- Tofu for added texture and colour
- Thick slices of halloumi or paneer
- Even fruits like pineapple for caramel-like notes
The method remains the same: high heat, minimal moisture, and proper pan contact.
Finishing After the Sear
In many cases, searing is just the first step. Large cuts of meat like roasts or thick steaks often require finishing in the oven. This two-step method—first searing, then roasting—allows the outside to develop a rich crust while the inside cooks gently and evenly to the desired temperature.
Always use a thermometer for accuracy. A top-rated finish requires hitting the ideal internal temperature without guessing.
Cleaning and Caring for Your Cookware
A high-quality pan can handle high heat, but proper care is essential. After searing:
- Let the pan cool slightly
- Deglaze with water, wine, or broth to release the fond
- Scrub gently with a brush or sponge—avoid harsh abrasives
- Dry thoroughly to prevent rust if using cast iron
The browned bits left in the pan (fond) can be the base of an exceptional pan sauce. Expert chefs know that what’s left behind after searing often holds the most flavour.
Final Notes
Searing is a technique built on precision, patience, and understanding. It’s not a shortcut but a fundamental method trusted by distinguished chefs to deliver unmatched depth and texture. From building crust on a ribeye to adding character to vegetables, the science of searing offers consistent, best-in-class results when performed with care.
At Chef Fuegos, we focus on methods that stand the test of time—no trends, no gimmicks. Just expert knowledge that produces outstanding food. Mastering searing is a step toward cooking with purpose, skill, and the kind of confidence that leads to superior dishes, every time.


