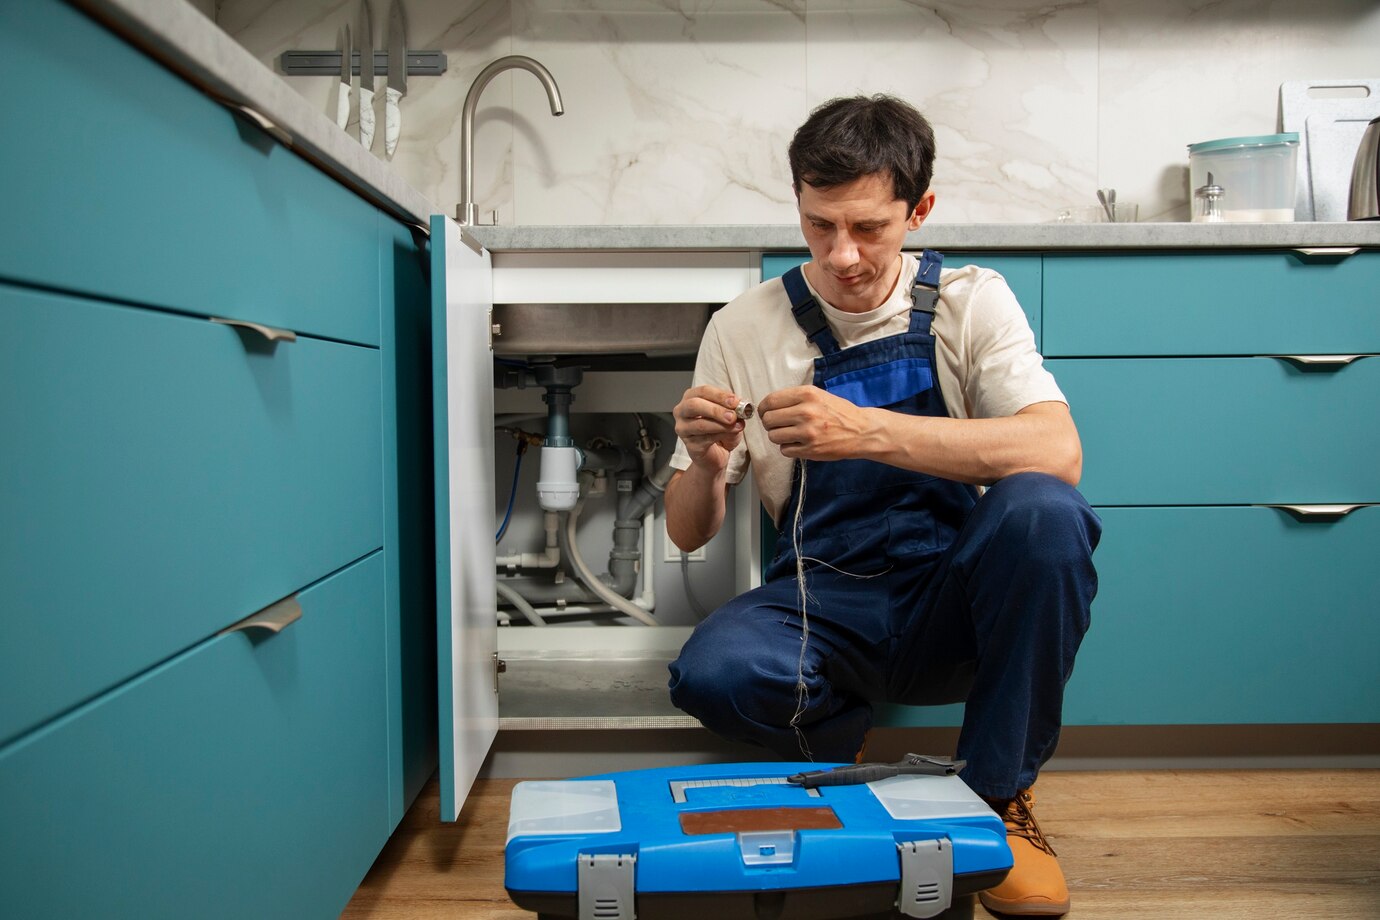
A broken oven igniter can be a frustrating issue, especially if you rely on your oven for daily cooking. If your oven is not heating up properly or fails to ignite, there’s a high chance that the igniter is faulty. This is a common problem in gas ovens, and the good news is that you don’t always need to call a professional for oven repair. With a little patience and the right tools, you can repair or replace the igniter yourself.
In this guide, we’ll walk you through how to repair a broken oven igniter, covering the tools you need, the steps to take, and the safety precautions to keep in mind. Whether you are a seasoned DIY enthusiast or new to home repairs, this guide will help you restore your oven’s functionality with ease.
Signs of a Broken Oven Igniter
Before you dive into the repair process, it’s important to confirm that the problem is indeed with the igniter. A faulty oven igniter typically shows these symptoms:
- The oven won’t heat up, or it heats unevenly.
- The igniter glows, but the gas burner doesn’t ignite.
- You hear clicking sounds, but no ignition occurs.
- There’s no glow from the igniter at all.
If you notice any of these signs, it’s highly likely that your oven igniter is either weak or completely broken, and oven repair will be necessary.
Safety First: Precautions to Take
Before attempting to repair a broken oven igniter, make sure you follow these critical safety precautions:
- Disconnect the Power Supply: Turn off the electricity to the oven by unplugging it or switching off the circuit breaker. This will help prevent any electrical accidents while you work.
- Turn Off the Gas Supply: If you’re working with a gas oven, shut off the gas supply to avoid any leaks during the repair process.
- Wear Protective Gear: Put on safety gloves and, if necessary, safety glasses to protect yourself from sharp edges or debris inside the oven.
- Work in a Well-Ventilated Area: If you’re handling gas, ensure there’s enough ventilation to avoid gas accumulation.
Tools You Will Need
Here’s a list of tools you’ll need for the repair:
- Phillips or flat-head screwdriver
- Multimeter (optional, for testing electrical continuity)
- Nut driver or socket wrench
- Replacement oven igniter
- Wire cutters or pliers (if needed)
Having these tools on hand before you start will make the job smoother and quicker.
Step-by-Step Guide to Repairing a Broken Oven Igniter
Now that you’ve ensured safety and gathered your tools, it’s time to fix your broken oven igniter. Follow these steps carefully:
1. Locate the Igniter
The igniter is usually located at the back of the oven, near the gas burner tube. To access it, remove the oven racks and unscrew the bottom panel of the oven. In some models, the igniter may be under a protective cover that you’ll need to remove as well.
2. Inspect the Igniter
Once you’ve located the igniter, visually inspect it for signs of wear or damage. If it’s cracked, discolored, or not glowing when the oven is turned on, it likely needs to be replaced.
3. Test the Igniter (Optional)
If you’re unsure whether the igniter is broken, you can use a multimeter to test its electrical continuity. If there’s no continuity, the igniter is faulty and should be replaced. If you don’t have a multimeter, skip to the next step.
4. Remove the Faulty Igniter
To remove the igniter, use your screwdriver or nut driver to unscrew it from its mounting bracket. Once it’s loose, carefully disconnect the wires that are attached to it. Some igniters use quick-disconnect clips, while others may require you to cut the wires and use wire nuts to reconnect the new igniter.
5. Install the New Igniter
Take your replacement igniter and carefully connect it to the wires using the same method you used to disconnect the old one. Secure the new igniter to the mounting bracket and ensure all connections are tight and secure.
6. Reassemble the Oven
Once the new igniter is installed, replace any covers or panels that you removed during disassembly. Make sure all screws are tightened properly, and the oven racks are back in place.
7. Test the Oven
After reassembling the oven, reconnect the power supply and turn on the gas. Set the oven to bake mode and observe whether the igniter glows and the gas burner ignites. If everything works as expected, congratulations—you’ve successfully completed your oven repair!
Common Mistakes to Avoid
While repairing a broken oven igniter is relatively straightforward, there are a few common mistakes you should avoid:
- Not turning off the power or gas supply: This can lead to serious injury or even a fire hazard.
- Mishandling the igniter: Oven igniters are fragile and can easily break if not handled carefully.
- Using the wrong replacement part: Make sure to buy the correct igniter for your oven model. Check your oven’s manual or consult the manufacturer for compatibility.
- Skipping the test phase: Always test the oven after the repair to ensure that the igniter and burner are working properly.
When to Call a Professional
If you’ve followed all the steps but the oven still isn’t working, it may be time to consult a professional technician. Other components like the thermostat, gas valve, or control board could be causing the problem. In these cases, a licensed expert will be able to troubleshoot more complex issues and complete the oven repair for you.
How Long Does an Igniter Replacement Take?
In most cases, replacing an oven igniter should take no more than an hour, even for someone with limited experience. The key is to follow the instructions carefully and avoid rushing the process. Taking the time to do it right will ensure a longer-lasting fix and a safer repair.
Conclusion
Repairing a broken oven igniter is a practical and manageable task for most homeowners. By following this step-by-step guide and ensuring proper safety measures, you can restore your oven’s functionality and avoid the cost of hiring a technician. Remember, if the repair seems beyond your skill level, it’s always better to consult a professional to ensure a safe and effective oven repair.