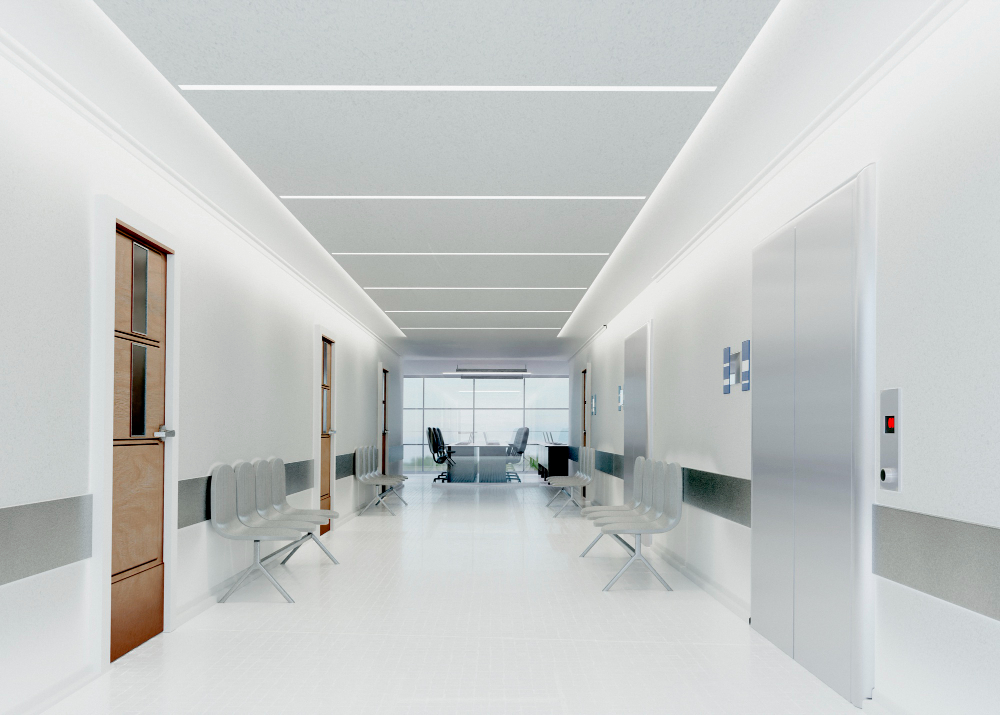
Creating a clean, professional environment is essential for industries such as healthcare, food preparation, and laboratories. White hygienic wall cladding offers a durable, easy-to-clean solution that enhances hygiene and ensures regulatory compliance. Installing it properly is crucial to maximize its benefits. Here’s a step-by-step guide to ensure a flawless installation.
Preparing for Installation
Before you begin the installation process, it’s important to prepare the space adequately. Start by thoroughly cleaning the walls where the cladding will be applied. Remove any dirt, dust, or grease that could prevent adhesives from bonding effectively. Uneven surfaces should be smoothed out or repaired to create a flat base. Proper preparation ensures that the cladding adheres securely and remains durable over time.
Gather all necessary tools and materials, including adhesive, a notched trowel, a fine-tooth saw or a utility knife, and a spirit level. Measuring tapes and safety equipment such as gloves and goggles are also essential. Ensuring you have all tools at hand before starting will make the process smoother and more efficient.
Cutting and Measuring the Panels
Accurate measurements are key to a professional finish. Begin by measuring the height and width of the walls where the cladding will be installed. Mark these measurements on the white hygienic wall cladding panels using a pencil. It’s best to double-check measurements to avoid mistakes that could lead to material waste.
Use a fine-tooth saw or sharp utility knife to cut the panels to size. When cutting, ensure that edges are smooth to create tight joins between panels. If the cladding will be installed around obstacles like windows or pipes, measure carefully and cut openings as needed, maintaining precision for a clean look.
Applying Adhesive and Installing the Panels
Once the panels are prepared, apply adhesive to the back of each sheet using a notched trowel. Be sure to apply an even coat for consistent bonding. Begin installing from the corner of the room, pressing each panel firmly onto the wall. Use a spirit level to ensure the panels are perfectly straight as you work your way along the wall.
To create a watertight seal and ensure the hygienic qualities are maintained, use high-quality hygienic sealant at all panel joints. This helps prevent moisture ingress and maintains a clean, professional appearance. Work steadily, taking care to eliminate air bubbles behind the panels as you go.
Finishing Touches
After all panels are in place, inspect the installation for any gaps or misalignments. Fill any small gaps with hygienic sealant for a seamless finish. Wipe down the panels to remove any adhesive residues or fingerprints.
Allow the adhesive and sealant to cure for the recommended time before using the room. Proper curing ensures a strong, lasting installation that will stand up to heavy use and frequent cleaning.
For those seeking high-quality solutions and expert support, HygienaClad offers premium products designed to meet the most demanding requirements.