Proper wall insulation is essential for homeowners in Catlin, IL, to ensure energy efficiency and comfort throughout the year. With the region’s range of seasonal weather, effective insulation can significantly lower heating and cooling costs while enhancing indoor air quality and overall home value. Whether you are constructing a new home or upgrading insulation in an older one, following a clear plan ensures optimal results.

Why Wall Insulation Is Important
Wall insulation minimizes heat transfer, keeping your home warmer in Catlin’s chilly winters and cooler during hot summer days. It also dampens noise, improves structural integrity, and supports energy conservation efforts, reducing your home’s carbon footprint.
Types of Wall Insulation
- Fiberglass Batts: Affordable and easy to install, making them a popular choice.
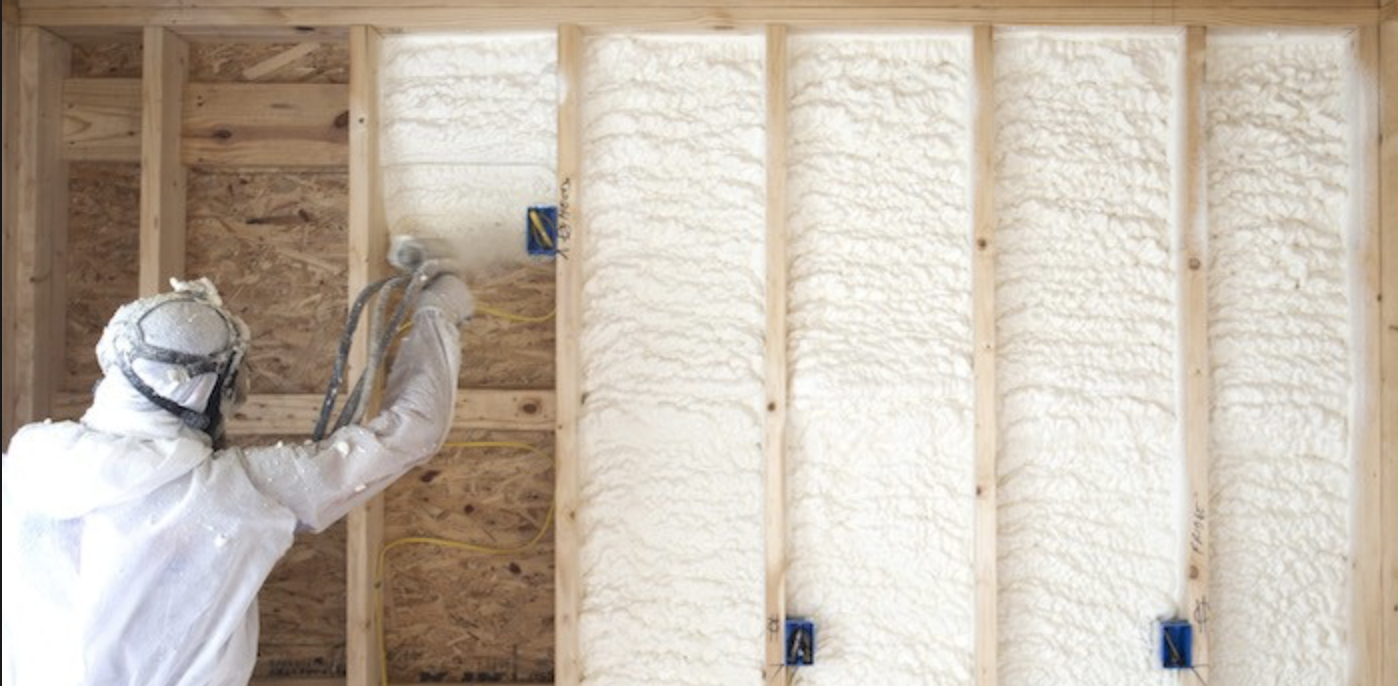
- Spray Foam: Offers excellent coverage and fills even the smallest gaps.
- Rigid Foam Boards: Ideal for exterior walls due to their durability.
- Blown-In Insulation: Perfect for retrofitting, as it can be inserted into existing walls without removing drywall.
Tools and Materials Needed
- Insulation material (batts, spray foam, rigid boards, etc.)
- Measuring tape
- Utility knife
- Staple gun
- Safety equipment (goggles, gloves, dust mask)
- Vapor barrier (optional)
- Drywall or finishing panels
Step-by-Step Guide to Installing Wall Insulation
Step 1: Prepare the Area
Remove furniture and obstructions near the walls. If retrofitting, remove drywall to expose the wall cavities. Clean the surfaces to ensure a smooth installation.
Step 2: Measure and Cut
Measure the height and width of each wall cavity. Cut the insulation to fit snugly without compression using a utility knife.
Step 3: Install the Insulation
- Fiberglass Batts: Place the batts between the studs and secure with a staple gun.
- Spray Foam: Apply evenly to fill the cavities completely.
- Rigid Foam Boards: Attach the boards using adhesive or screws, sealing the edges for optimal performance.
Step 4: Seal Gaps
Seal all gaps around windows, doors, and electrical outlets using caulk or spray foam to prevent air leaks.
Step 5: Add a Vapor Barrier
In regions like Catlin, where humidity may vary, a vapor barrier can help protect your walls from moisture buildup. Install this over the insulation.
Step 6: Finish the Walls
Replace drywall or other finishing materials. Tape and mud the seams, then paint or decorate to match your home’s aesthetic.
Tips for Success
- Always wear protective gear to avoid irritation from insulation materials.
- Ensure insulation is not compressed, as this reduces its thermal effectiveness.
- Check local building codes for compliance with insulation standards.
Conclusion
Installing wall insulation is a manageable project that yields long-term benefits, especially for homeowners in Catlin, IL. By following these steps, you can create a more energy-efficient, quieter, and comfortable home while reducing utility costs year-round.
FAQs
1. What type of insulation is ideal for Catlin, IL?
Fiberglass batts and spray foam are great options for both performance and cost-effectiveness in Catlin’s climate.
2. Can I install insulation myself?
Yes, with the right tools and safety precautions, it’s possible. However, hiring a professional may ensure better results, especially for complex projects.
3. How much does insulation installation cost?
Costs depend on the material and size of the project, typically ranging from $1.50 to $4.00 per square foot.
4. How do I know if my home needs better insulation?
Signs include fluctuating indoor temperatures, high energy bills, and drafts near walls or windows.
5. What is the lifespan of wall insulation?
Most insulation materials last 20-30 years, but factors like moisture damage or pest infestation may require earlier replacement.


