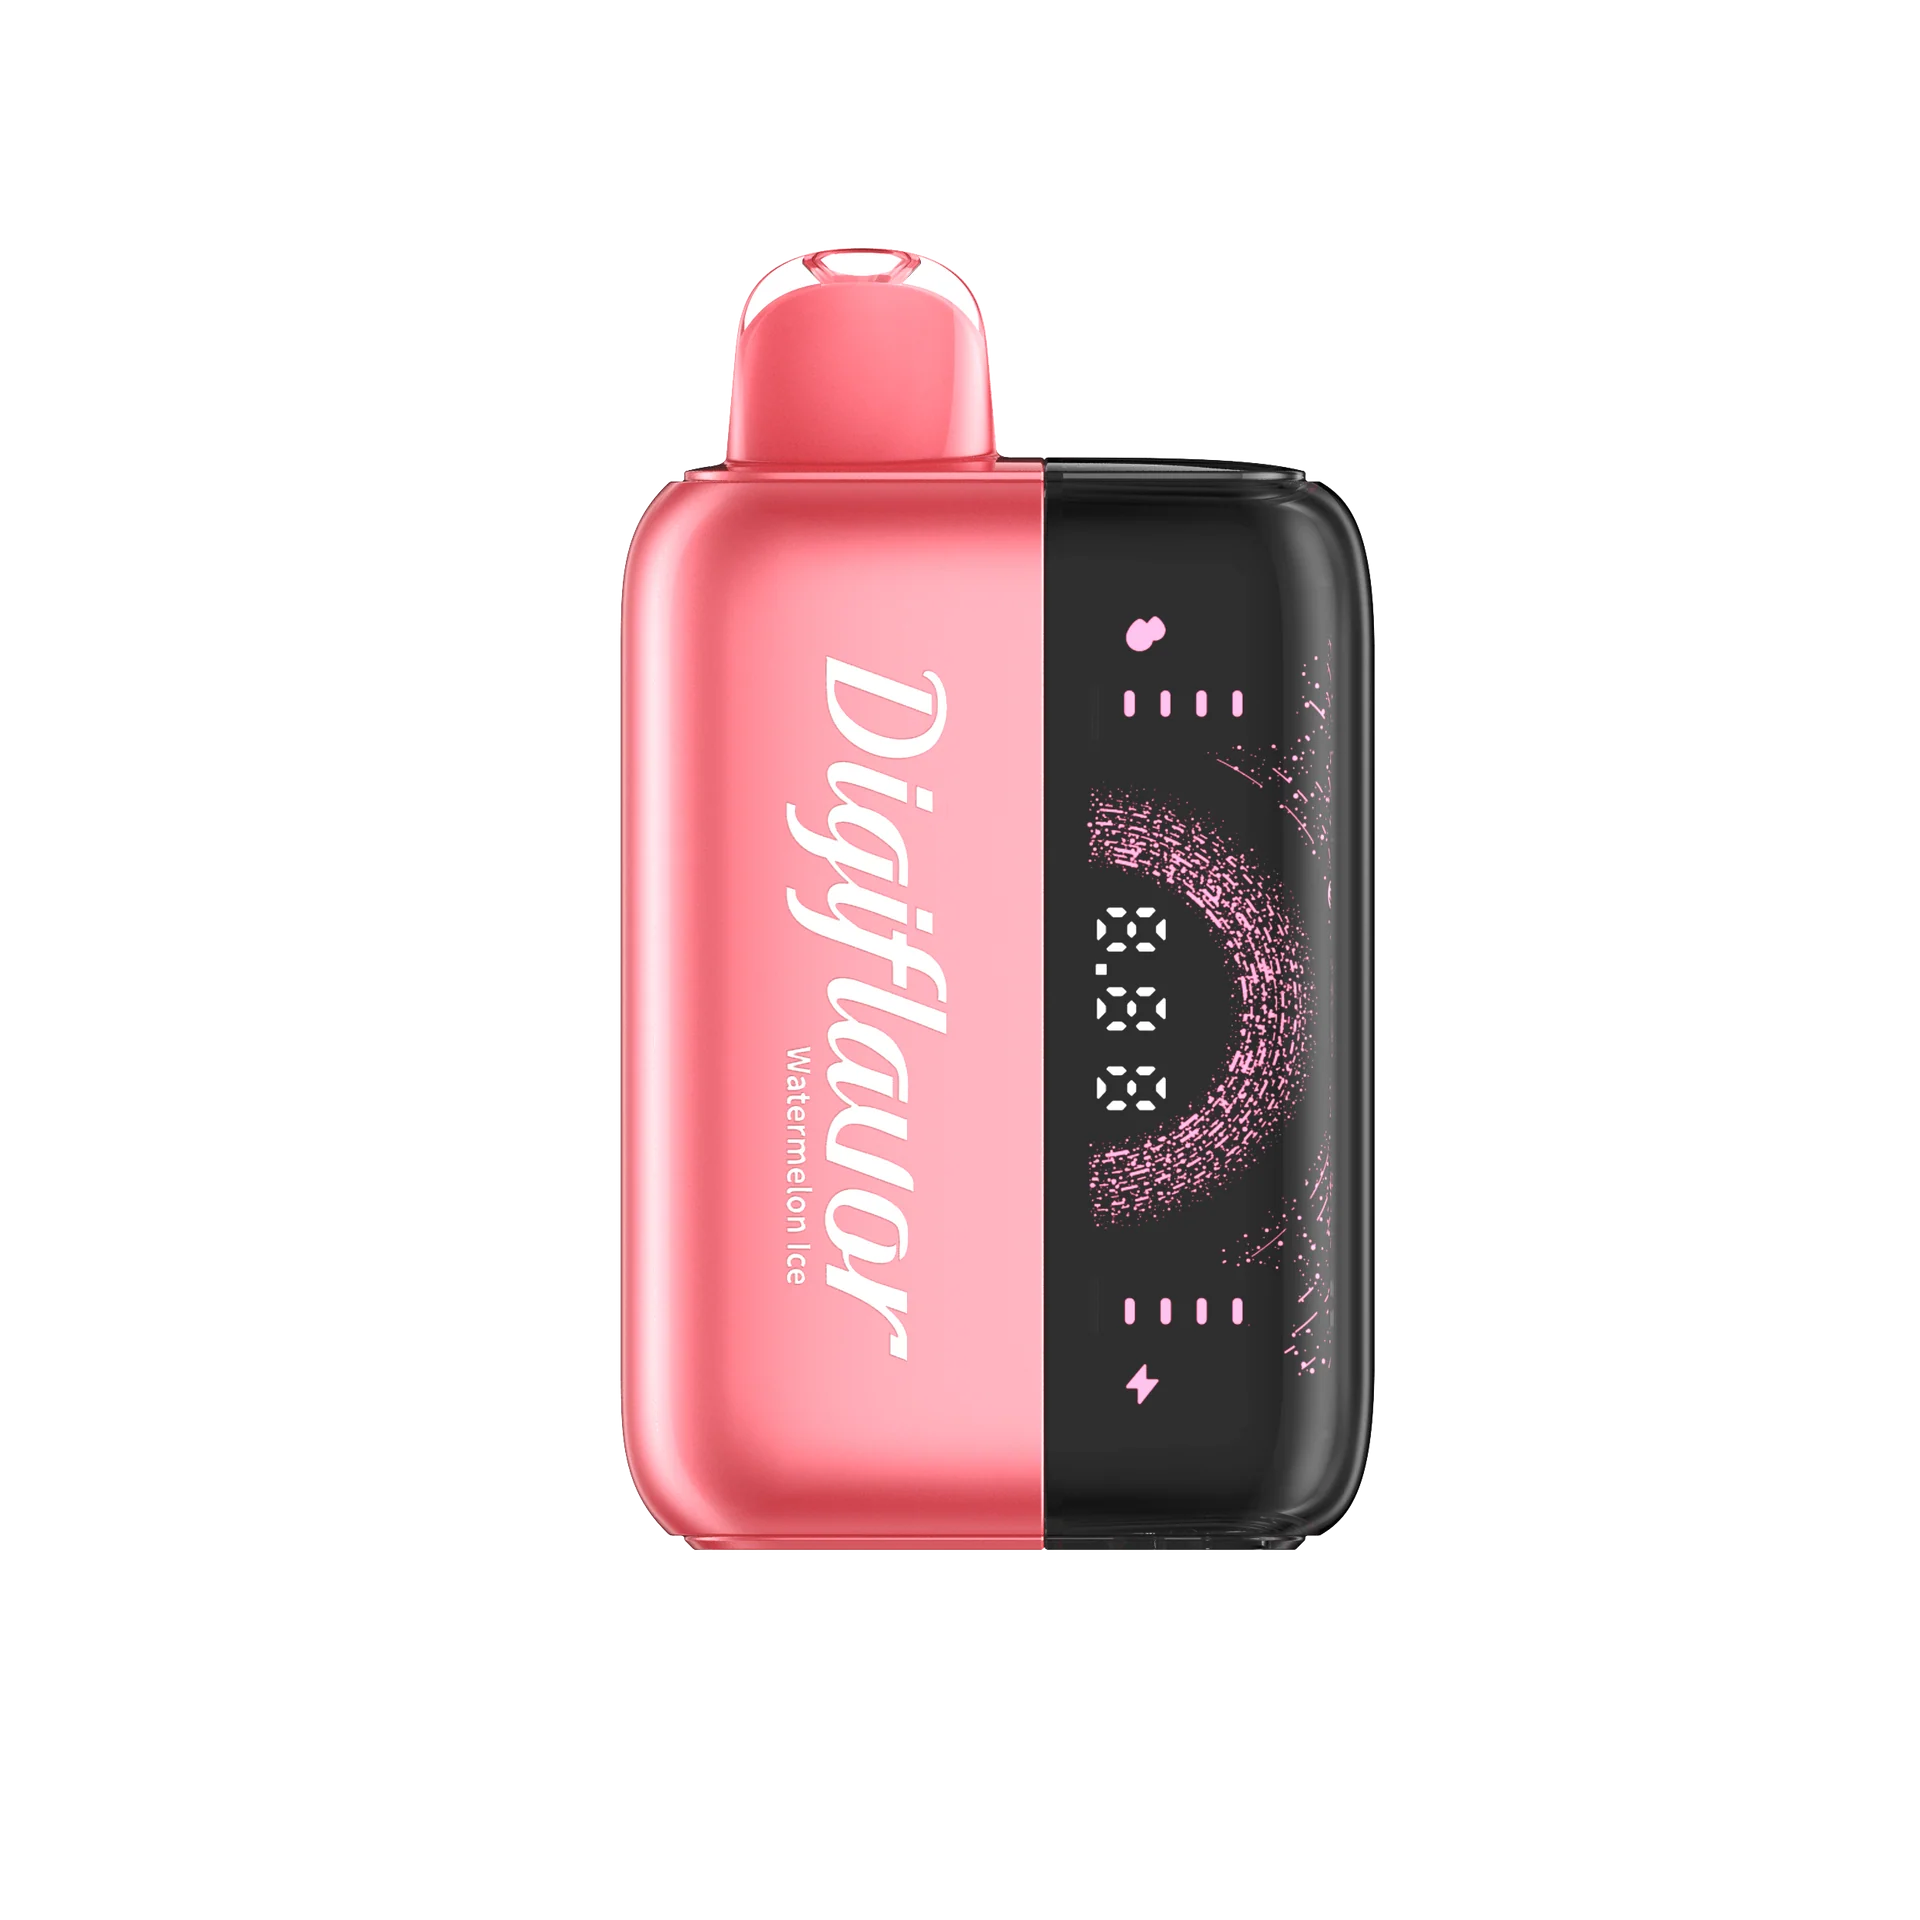
If you’re anything like me, you’ve probably found yourself wondering what exactly goes on inside a geek bar. I mean, these compact little devices pack a serious punch when it comes to flavor and performance. But what makes them tick? How do they deliver such a smooth vaping experience? Well, I decided to dig a little deeper—literally. Today, I’m walking you through my personal journey of disassembling a Geek Bar and exploring its fascinating inner design.
Whether you’re a vaping enthusiast, a curious mind, or just someone who loves learning how things work, stick with me. This post is for you.
Why Take Apart a Geek Bar?
Let’s be real—most of us don’t buy a Geek Bar with the intention of opening it up. But for me, curiosity got the best of me. I’ve always been a fan of the geek bar flavors, and I couldn’t help but wonder what kind of design and components make these devices so reliable and tasty.
Here’s why I did it:
-
To understand the tech behind consistent flavor delivery.
-
To see how geek bar digiflavor models differ internally.
-
To appreciate the engineering that goes into disposable vapes.
-
And let’s be honest… just for the fun of it.
Tools I Used for the Disassembly
Before I started tearing into the device, I gathered a few tools:
-
Small flathead screwdriver
-
Tweezers
-
Scissors
-
A steady hand and a ton of patience
Just a quick note—disassembling a Geek Bar will render it unusable and may void any warranties. I did this purely for exploration, and I don’t recommend doing it unless you’re ready to say goodbye to your device.
Breaking It Down – Step-by-Step Disassembly
Step 1: Removing the Mouthpiece
I started by gently prying off the mouthpiece with the flathead screwdriver. It wasn’t glued too tightly, so it came off fairly easily.
Inside the mouthpiece, I found a small airflow channel and a silicone gasket. This design helps control airflow and prevents leakage, which totally explains the smooth draw I’ve always experienced with Geek Bar flavors.
Step 2: Sliding Out the Internal Components
Next, I snipped a small section of the plastic casing to loosen the internal components. With a bit of coaxing and some careful pulls, the entire internal unit slid out in one piece. I have to say, I was genuinely impressed by how neatly everything was packed in there.
Here’s what I discovered:
-
Battery: A rechargeable lithium-ion cell, typically 500–600mAh depending on the model.
-
E-liquid tank: A cotton-filled chamber saturated with juice—no wonder the Geek Bar Digiflavor has such bold taste.
-
Coil: A tightly wrapped wire coil nestled inside the tank, responsible for vaporizing the e-liquid.
-
Wick: Cotton material connecting the tank to the coil.
-
LED light: This little guy lights up the bottom when you vape. Fun and functional.
The Design Details That Caught My Eye
After everything was out in the open, I took a closer look at each part. Here’s what stood out the most:
1. Compact Coil and Wick System
The coil and wick combo is super efficient. The cotton is perfectly placed to ensure maximum e-liquid absorption and even heating. That explains the lack of dry hits I’ve had with Geek Bar flavors—they’ve really nailed this design.
2. Battery Size vs. Output
The battery is small, but it packs enough juice to last through hundreds of puffs. What amazed me was how snugly it fits inside the casing, with just enough room for the wiring and airflow channels.
3. Smart Airflow Mechanism
There’s a tiny pressure-activated switch near the base that activates the coil when you inhale. It’s such a clever design, making the vape feel seamless and intuitive.
What Makes Geek Bar Digiflavor Models Special?
As I explored other models, particularly the Geek Bar Digiflavor, I noticed a few differences compared to the standard versions.
-
Enhanced Coil Design: The Digiflavor uses a mesh coil instead of a standard wire coil, which allows for even better heat distribution.
-
Airflow Optimization: Improved venting and airflow paths make the draw even smoother and more flavorful.
-
Slightly Larger E-liquid Reservoir: This gives you longer-lasting enjoyment before the vape runs dry.
Honestly, after seeing the inside, it’s no wonder that the Geek Bar Digiflavor stands out among other disposables.
Final Thoughts – Is It Worth Exploring?
Disassembling a Geek Bar gave me a newfound respect for the engineering that goes into these little devices. It’s easy to take them for granted, but once you peek inside, you see how much thought has been put into their design.
I won’t be cracking open every vape I own, but this experience helped me understand why Geek Bar flavors are so consistent and why Geek Bar Digiflavor models offer such standout performance. It’s more than just a cool-looking vape—it’s smart, efficient, and surprisingly complex for something disposable.
A Word of Caution
If you’re thinking of doing your own disassembly, just remember:
-
Safety first: Always handle batteries carefully.
-
Do it for curiosity, not reuse: Once it’s open, it’s done.
-
Recycle responsibly: Dispose of used components at proper e-waste facilities.
Wrapping It Up
Whether you’re a fellow vape enthusiast or someone curious about what’s inside your device, I hope this dive into the inner workings of a Geek Bar has been as fascinating for you as it was for me. Sometimes, the best way to appreciate something is to take it apart and see what makes it special.
Have you ever taken apart a vape before? I’d love to hear what you found. Let’s geek out over Geek Bar flavors, discuss the Geek Bar Digiflavor lineup, and share our vape discoveries together.
Until next time, keep exploring and stay curious. 🚀


