Get Started with Anti-Static Floor Coating
Anti static floor coating emphasizes the importance of beginning with proper preparation before moving on to more advanced steps. It invites readers to focus on the foundational tasks necessary for a successful application, such as gathering tools, assessing the workspace, and ensuring safety measures are in place. The heading reassures beginners that the process is manageable by breaking it down into simple, actionable steps. It highlights that a well-prepared surface and organized workspace are crucial for achieving a durable and effective finish.
Moreover, this initial phase sets the stage for understanding the detailed procedures that follow, ensuring the final outcome meets high-quality standards. This approach builds confidence and encourages readers to take the first step with clarity and purpose. This phase builds the foundation for success.
Understand The Anti-Static Floor Coating
In this section, we explain what the special floor treatment is and why it matters. Anti-static floor coating is a finish that helps control static electricity. This coating works by dispersing electrical charges so that they do not build up and cause harm. It’s helpful where small sparks can harm delicate equipment or cause accidents. There are several types available, such as epoxy-based or polyurethane-based versions.
Each type has its benefits and may suit different environments. When picking a product, think about your area’s needs. Consider durability and how easy it is to maintain. This explanation shows how this treatment improves safety and efficiency. Now, you can choose the product that fits your project best.
Preparing For Application
Before you begin any work, proper preparation is key to a successful project. Begin by assessing the site. Check the floor for cracks, debris, or other problems that might impact the finish. Make sure you have a clear view of the area and note any spots that might need repair. Safety comes first. Wear gloves, goggles, and a mask. This protects you from dust and chemicals. Make sure the area has good airflow. Open windows or use fans. Also, follow the manufacturer’s guidelines for your product.
Collect all the tools and materials you need. This includes cleaning agents, patching compounds, primers, rollers, sprayers, and mixing equipment. Planning and setting up properly will make the application process easier and faster. A tidy workspace saves time and gives a smooth, lasting finish. With these precautions and preparations, you can start the project confidently.
Surface Preparation Before Applying Coating
A clean and well-prepared surface is essential for a successful floor project. Begin by cleaning the floor carefully to remove dust, oil, and any contaminants. Use a gentle cleaning solution that will not leave a residue. After cleaning, inspect the surface closely for cracks, chips, or other damage. Fix any flaws with a suitable patching compound. Let the repairs dry fully before you proceed. Next, it is important to condition the surface.
For concrete floors, etching or light sanding adds texture. This helps improve adhesion. This step ensures that the finish will stick evenly and last longer. Finally, make sure the floor is completely dry; any moisture left behind can weaken the bond of the finish. Investing extra time in surface preparation builds a strong base. This leads to a smooth and lasting finish. This careful process helps avoid problems later and results in a professional-looking floor.
Mix And Apply The Coating
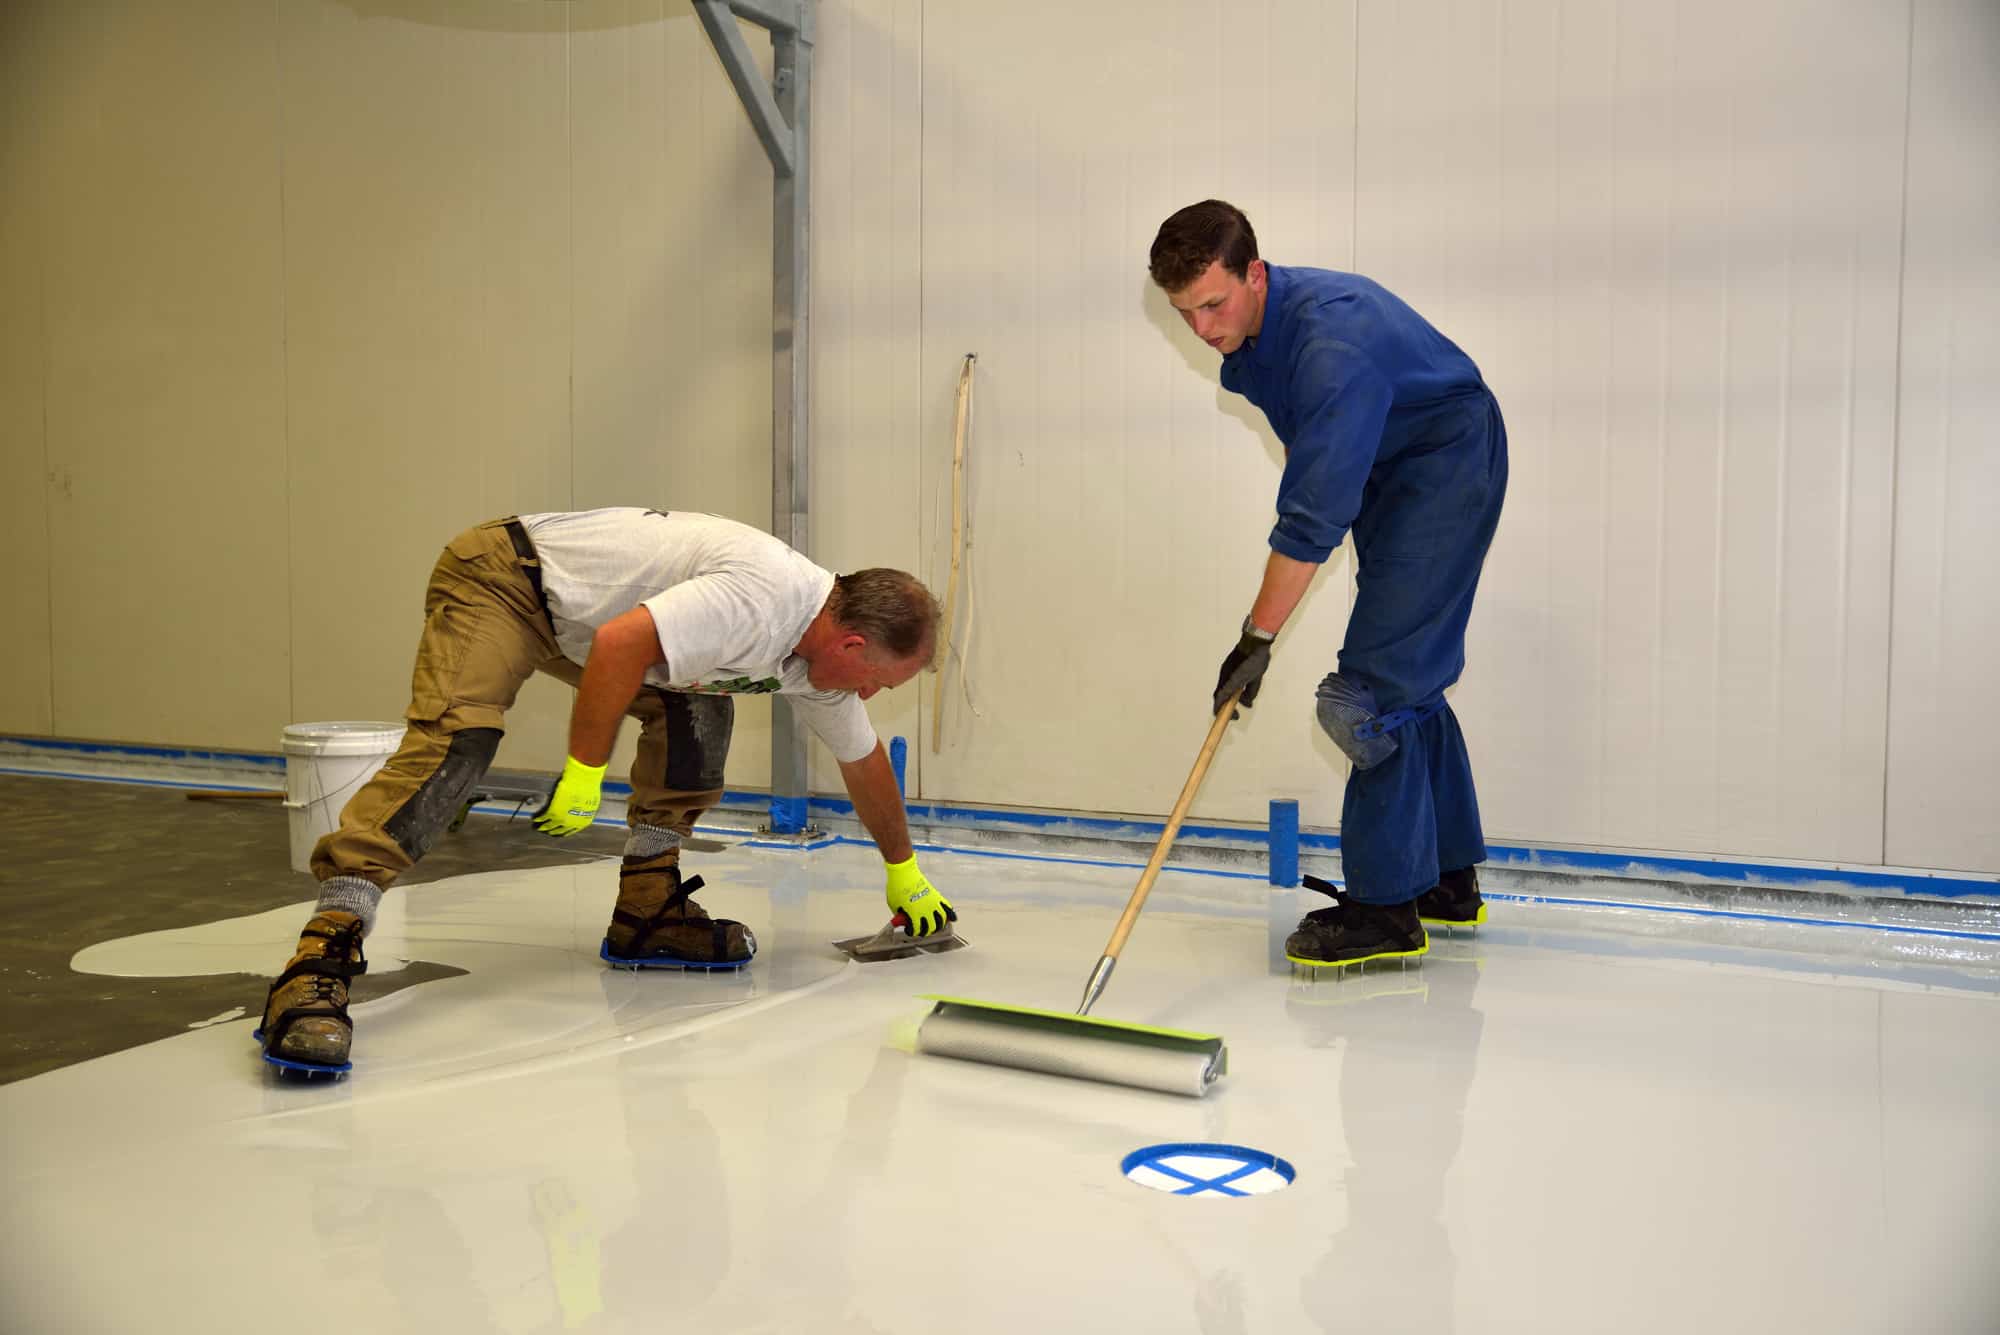
Now that your surface is ready, it’s time to mix and apply the finish. Mix the parts in the exact ratio given. Follow the product instructions closely if you’re using a two-part system. Stir the mixture well until it is completely uniform. When you start applying the coating, work in small sections to maintain an even layer. Use a roller or spray equipment, whichever is more convenient for your project.
Take care not to over-apply the finish, as this can lead to uneven spots or bubbles. Move steadily to spread the coating smoothly over the surface. Remember to work quickly but carefully, as some products have a limited pot life once mixed. This method will help create a strong, lasting finish that endures over time. Doing this step carefully helps create a smooth and even floor.

Curing Process
After the finish is applied, the next critical step is the curing process. This stage allows the finish to harden and develop its full strength. Curing time varies. It depends on the product, temperature, and humidity in your workspace. Do not disturb the floor now. Avoid walking, cleaning, or moving heavy equipment. Follow the manufacturer’s recommendations. Proper curing helps the finish last and perform well.
While waiting, make sure the area remains free from dust and moisture. The curing process bonds the finish to the floor. This creates a protective layer that boosts durability. Rushing this step may result in a finish that chips or wears away quickly. Patience during curing is key to achieving a smooth and long-lasting result. Once fully cured, you can enjoy a safe, attractive, and strong floor surface.
Testing And Quality Assurance
Once the finish has cured completely, it is time to verify the quality of your work. Testing ensures each part of the project meets safety and performance standards. Use a surface resistance meter to check for proper electrical properties. In areas where electrical safety is crucial, ensure the treatment meets standards. Look over the entire floor for any uneven areas, bubbles, or signs of poor adhesion. Address any issues immediately to avoid future complications.
This section highlights anti-static floor coating. It serves as a reminder of the treatment being tested. For added assurance, compare your results with the guidelines provided by the manufacturer. Check if your floor finish is one of the best options. You can do this by reading reviews and technical sheets. This quality check shows that your work created a safe and reliable floor treatment.
Maintenance And Long-Term Care
Keeping your new floor in good condition is as important as applying it correctly. Regular maintenance makes your finish last longer. It also keeps the surface smooth and safe. Start by creating a cleaning schedule. Use mild, non-abrasive cleaners to protect the finish. Avoid harsh chemicals that could wear away the protective layer. Periodically inspect the floor for signs of wear, peeling, or other damage. Early detection of issues allows you to perform touch-ups or reapplications as needed.
For big repairs, think about the best floor coating Perma. They help ensure a long-lasting result. Clean and maintain as the manufacturer suggests. This keeps the finish in good shape. With proper care, your floor stays in great shape for years. This keeps it safe and looking good.