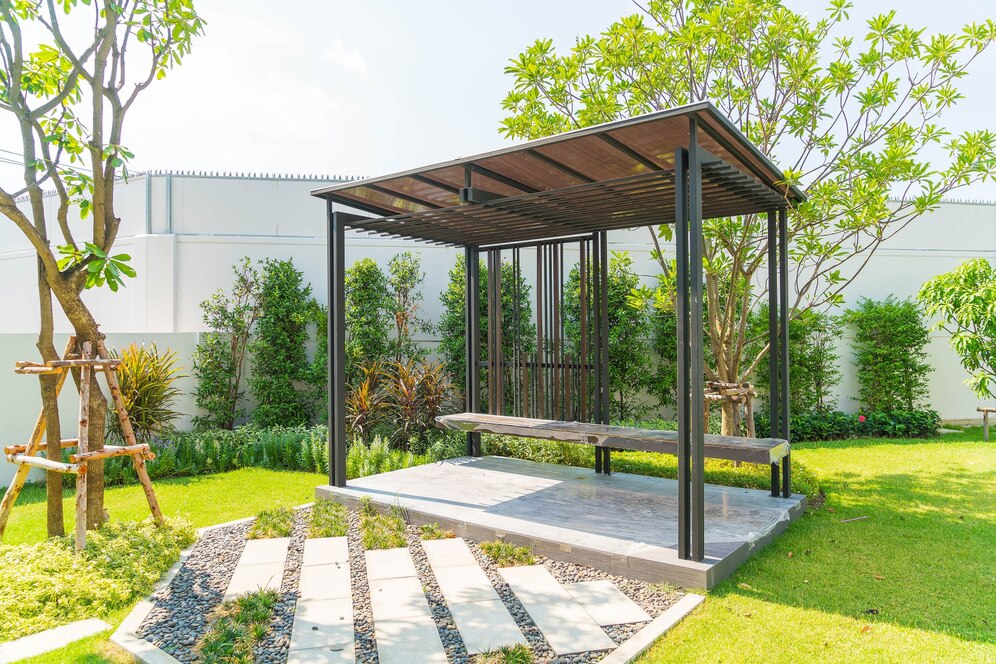
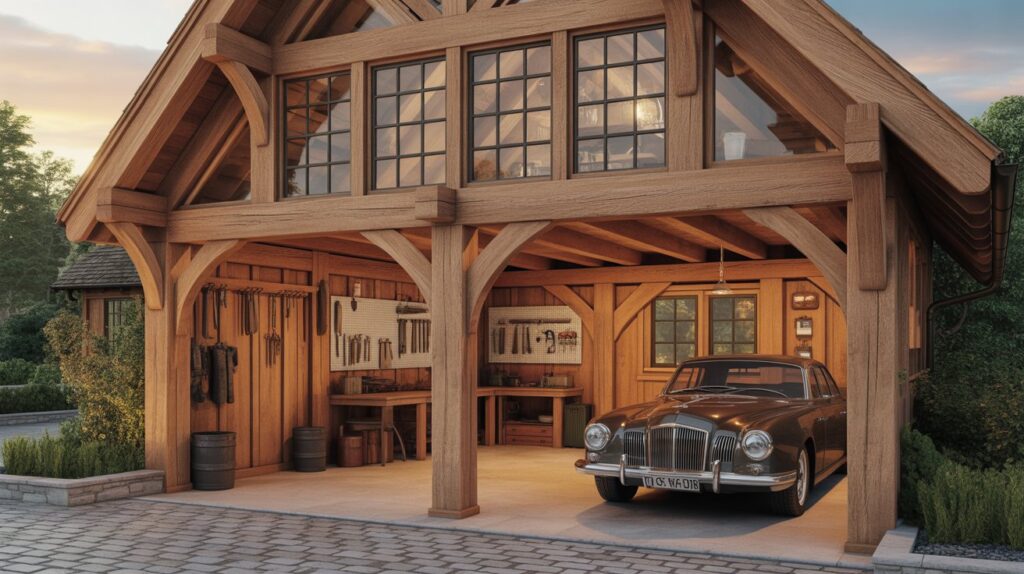
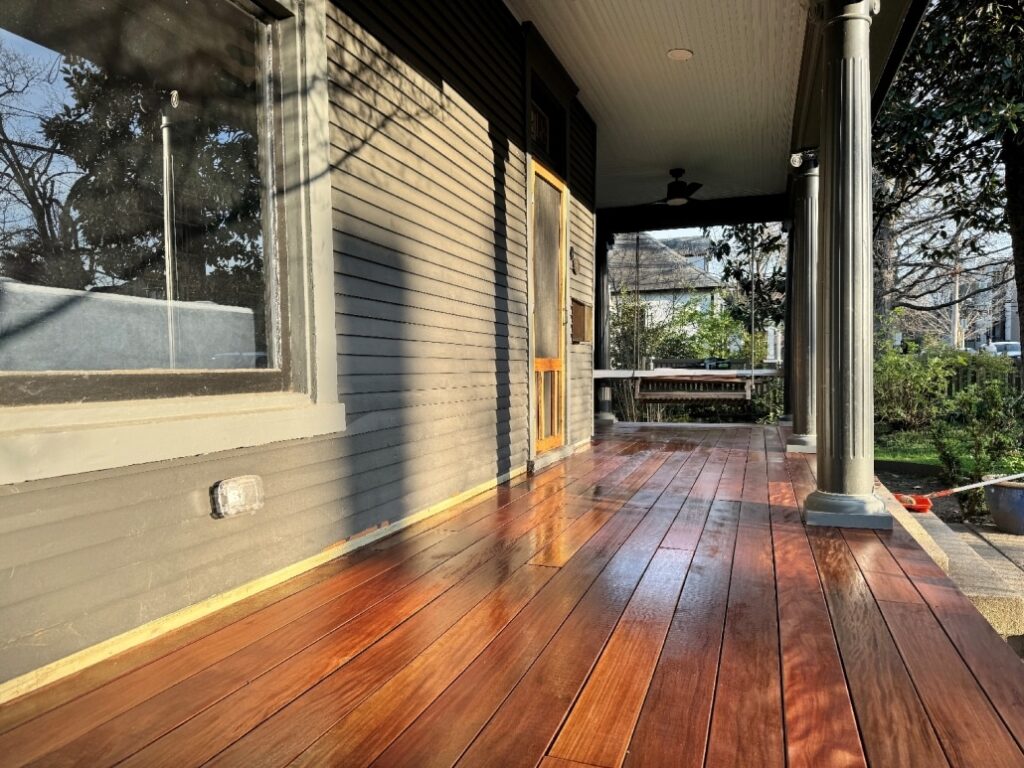
A pergola patio can transform your outdoor space into a relaxing oasis, perfect for entertaining or unwinding. Building one doesn’t have to break the bank. With smart planning, budget-friendly materials, and DIY skills, you can create a stylish and functional pergola patio that suits your needs. Here’s a step-by-step guide to help you build your pergola patio while keeping costs in check.
1. Plan Your Pergola Patio Design
Before picking up tools, start with a clear plan. Consider:
Size and Shape: Measure the available space. Decide whether your pergola will cover a small patio or an expansive area.
Functionality: Will it provide shade, define an outdoor dining space or house climbing plants?
Budget Limitations: Set a realistic budget, keeping in mind material and tool costs.
Use free online tools or apps to sketch your design. Explore photos of pergola patios for inspiration, especially from searches like patio covers near me to see local trends and options.
2. Choose Budget-Friendly Materials
The choice of materials plays a significant role in determining the overall cost. Here are some affordable options:
Wood: Treated pine or cedar is budget-friendly and durable. While redwood is pricier, pine can mimic its look with staining.
Metal: Aluminum or steel pergola kits are often cost-effective and low maintenance.
Recycled Materials: Repurposing old wood or salvaged beams can significantly reduce costs.
Pro Tip: Compare material prices at local suppliers and browse online for deals. Searching patio covers near me may lead you to discounts on surplus stock or seasonal sales.
3. Gather the Necessary Tools and Supplies
Investing in tools can be expensive, but borrowing or renting equipment is a great way to save. Here’s what you’ll need:
Saw (circular or handsaw)
Drill and screws
Measuring tape and level
Post hole digger (or shovel)
Concrete mix for post-stabilization
If you’re purchasing supplies in bulk, check for discounts at home improvement stores.
4. Prepare the Site
A well-prepared site ensures your pergola patio is stable and looks professional. Follow these steps:
Clear the Area: Remove debris, grass, or any obstacles from the patio area.
Mark Post Locations: Use stakes to outline where the pergola posts will stand. Measure accurately to ensure symmetry.
Dig Post Holes: Holes should be deep enough (around 2 feet) to stabilize the structure.
For existing patios, use surface-mount brackets to secure posts instead of digging.
5. Build the Pergola Framework
This is where the project comes to life. Work methodically through these steps:
Install the Posts
Place posts into holes and fill them with concrete. Let it set for 24-48 hours for stability.
Use a level to ensure posts are vertical.
Add the Beams
Attach horizontal beams across the top of the posts.
Secure them with screws or brackets, ensuring a snug fit.
Install Rafters and Slats
Evenly space rafters across the beams.
Add slats for more shade, depending on your design preferences.
Pro Tip: For DIY beginners, pergola kits often come with pre-cut materials and assembly instructions, reducing complexity and time.
6. Finish with Style and Functionality
Once the structure is complete, add finishing touches to enhance the look and usability:
Paint or Stain: Protect the wood from weathering with a waterproof sealant, stain, or paint.
Add Climbing Plants: Install hooks or wires to support vines like wisteria or ivy.
Lighting: String lights or solar lanterns create ambiance for evening use.
Patio Covers: Consider retractable fabric covers or affordable bamboo shades for added protection from sun and rain.
If you’re searching for patio covers near me, local suppliers often have customizable options to fit your pergola’s design.
7. Cost-Saving Tips
Keeping your pergola patio affordable doesn’t mean compromising on quality. Use these tips to save:
DIY Labor: Building it yourself cuts down on labor costs. Watch online tutorials for guidance.
Local Resources: Search for patio covers near me to find competitive pricing and avoid shipping costs.
Reuse Materials: Check salvage yards for discounted wood or metal.
Group Buys: Purchase materials in bulk with neighbors or friends.
8. Why a Pergola Patio is a Smart Investment
A pergola patio isn’t just about aesthetics; it’s a valuable addition to your home:
Increases Property Value: A well-crafted pergola boosts curb appeal and marketability.
Maximizes Outdoor Living: Extends usable space, perfect for relaxation or entertaining.
Cost-Effective: Compared to other outdoor renovations, pergolas offer high impact for lower costs.
By opting for budget-friendly materials and DIY efforts, you can enjoy these benefits without overspending.
9. Maintenance Tips for Longevity
Regular upkeep ensures your pergola patio remains a beautiful feature for years:
Clean Periodically: Wash with soapy water to remove dirt and grime.
Inspect Annually: Check for signs of wear, such as loose screws or rotting wood.
Reapply Sealant: Protect wood structures by resealing every 2-3 years.
Proper care helps avoid costly repairs and keeps your pergola patio looking like new.
Conclusion
Building a pergola patio on a budget is achievable with careful planning and resourcefulness. From choosing affordable materials to adding creative touches, you can create a stunning outdoor feature without straining your finances. Don’t forget to search for patio covers near me to find cost-effective solutions for shade and style.
Start your project today and enjoy the satisfaction of crafting a beautiful pergola patio tailored to your space and budget. Your outdoor oasis awaits!


