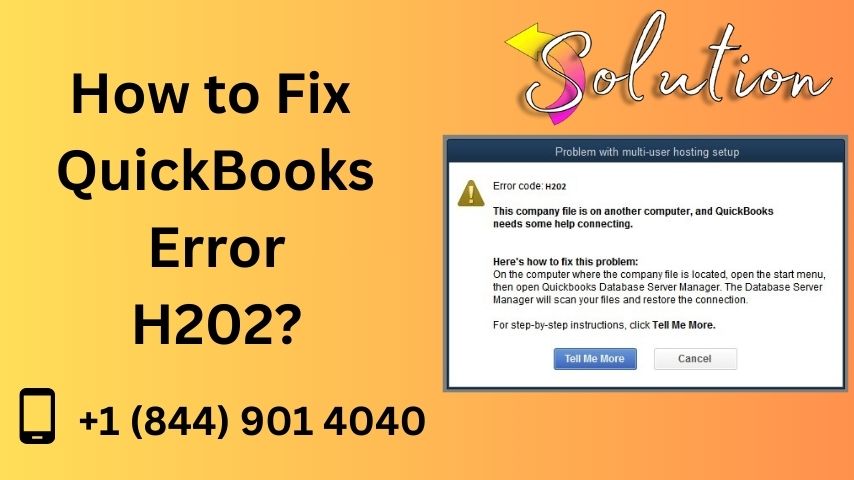
QuickBooks Error H202 occurs when you attempt to switch QuickBooks to multi-user mode but fail to access the company file located on another computer (server). This error signifies that QuickBooks is unable to establish a proper connection to the server hosting the company file. In this guide, we will explore the causes, solutions, and preventive measures for QuickBooks Error H202, ensuring your QuickBooks operates smoothly in multi-user mode.
Understanding QuickBooks Error H202
QuickBooks Error H202 primarily affects users operating in multi-user mode. In this setup, the company file is stored on a server, and other users access it from their workstations. Error H202 indicates that QuickBooks cannot communicate with the server due to misconfigured settings, network issues, or a lack of server permissions.
Common Symptoms of Error H202
You may encounter the following symptoms when facing QuickBooks Error H202:
- Error message: “Error H202: This company file is on another computer, and QuickBooks needs help connecting.”
- Inability to switch to multi-user mode.
- Sluggish performance or freezing of QuickBooks.
- Error message prompts every time you try to open the company file.
- QuickBooks works fine in single-user mode but fails in multi-user mode.
Causes of QuickBooks Error H202
The primary causes of QuickBooks Error H202 include:
- Incorrect Hosting Configuration
- The workstation may be configured to host the company file instead of the server.
- Blocked Ports
- QuickBooks requires specific network ports to communicate with the server. If these ports are blocked, the error may arise.
- Firewall Restrictions
- Firewalls can block QuickBooks from accessing the server.
- Damaged QuickBooks Database Server Manager
- A faulty or outdated Database Server Manager may prevent QuickBooks from connecting to the server.
- Network Connectivity Issues
- Weak or interrupted network connections can hinder communication.
- Incorrect DNS Settings
- Misconfigured DNS settings can obstruct the server-workstation connection.
How to Diagnose QuickBooks Error H202?
Before applying solutions, it’s essential to confirm the error. Follow these diagnostic steps:
Step 1: Use the QuickBooks File Doctor Tool
- Download and install the QuickBooks Tool Hub.
- Launch the Tool Hub and select Company File Issues.
- Run the QuickBooks File Doctor Tool to scan and fix file-related issues.
Step 2: Test Network Connectivity
- Open the Command Prompt on the workstation.
- Type ping [server name] and press Enter.
- Analyze the results; slow or dropped packets indicate network issues.
Step 3: Check Hosting Settings
- Open QuickBooks on all workstations.
- Go to File > Utilities and ensure Host Multi-User Access is enabled only on the server.
Solutions to Fix QuickBooks Error H202
Solution 1: Verify Hosting Settings
Ensure the hosting settings are correctly configured:
- Open QuickBooks on all workstations.
- Go to File > Utilities.
- If you see Stop Hosting Multi-User Access, click it to disable hosting on the workstation.
- Repeat the process for all workstations.
- On the server, enable Host Multi-User Access.
Solution 2: Configure Firewall Settings
Firewalls can block QuickBooks from accessing the server. To fix this:
- Open the Windows Firewall.
- Click on Advanced Settings and choose Inbound Rules.
- Create a new rule to allow ports 8019, 56728, 55378-55382.
- Repeat the steps for Outbound Rules.
Solution 3: Repair QuickBooks Database Server Manager
- Open the QuickBooks Tool Hub.
- Select Network Issues.
- Run the QuickBooks Database Server Manager to scan your network.
- Restart the server after the repair process is complete.
Solution 4: Add the Server to the Hosts File
- Navigate to C:\Windows\System32\Drivers\Etc.
- Open the hosts file using Notepad.
- Add the server’s IP address and name at the bottom of the file.
- Save changes and restart QuickBooks.
Solution 5: Use the QuickBooks Connection Diagnostic Tool
- Open the QuickBooks Tool Hub and select Network Issues.
- Run the QuickBooks Connection Diagnostic Tool.
- Follow on-screen instructions to fix network and connectivity issues.
Solution 6: Restart QuickBooks Services
- Press Windows + R, type services.msc, and hit Enter.
- Locate QuickBooksDBXX and QBCFMonitorService.
- Right-click each service and select Restart.
Also Read About: download and export Yahoo emails on computer
Preventing QuickBooks Error H202
To avoid encountering QuickBooks Error H202 in the future, implement these preventive measures:
1. Regular Software Updates
- Keep QuickBooks and the Database Server Manager up to date to avoid compatibility issues.
2. Use a Stable Network
- Ensure a strong and reliable network connection between workstations and the server.
3. Regularly Check Hosting Settings
- Verify that only the server is hosting the company file.
4. Backup Data Frequently
- Regularly back up QuickBooks data to avoid data loss during errors.
5. Train Employees
- Educate team members on proper multi-user mode practices and error prevention.
When to Seek Professional Help?
If you’re unable to resolve Error H202 using the above methods, consider seeking assistance from:
- QuickBooks Support: Reach out to Intuit’s customer support for expert guidance.
- IT Professionals: Consult an IT expert for network-related issues.
- Certified QuickBooks ProAdvisors: These professionals specialize in QuickBooks troubleshooting and management.
Conclusion
QuickBooks Error H202 can disrupt your workflow, but with a clear understanding of its causes and solutions, you can resolve it effectively. By implementing the preventive measures outlined in this guide, you can minimize the chances of encountering this error in the future.
QuickBooks remains a powerful tool for managing business finances, and addressing issues like Error H202 ensures a smooth and efficient accounting experience.—relxnn


